Adobe Acrobat Markup: How to Make Corrections on a PDF
As an author or editor, you need to use Adobe Acrobat markup to make corrections before going to print. Here’s how to make them!
At YouPublish, we ask authors and editors to use Adobe Acrobat markup to make corrections.
How does this work? See below a step-by-step process.
Note: We take author and editor changes and manually apply them to our galley proof files. So please send any and all corrections in one PDF file using Adobe markup as described below.
1. Download Adobe Acrobat for free here.
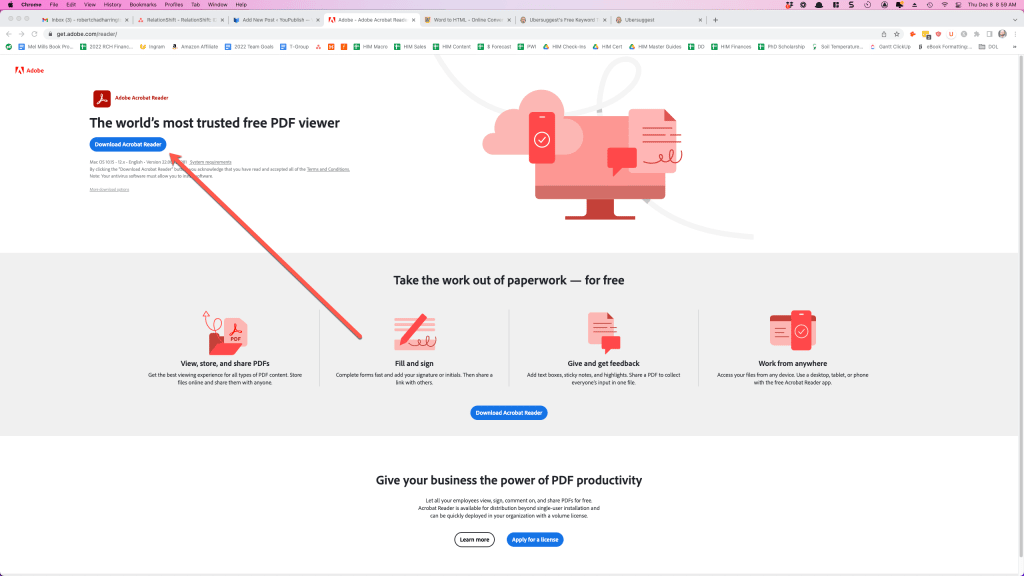
2. Open the PDF file in Adobe Acrobat.
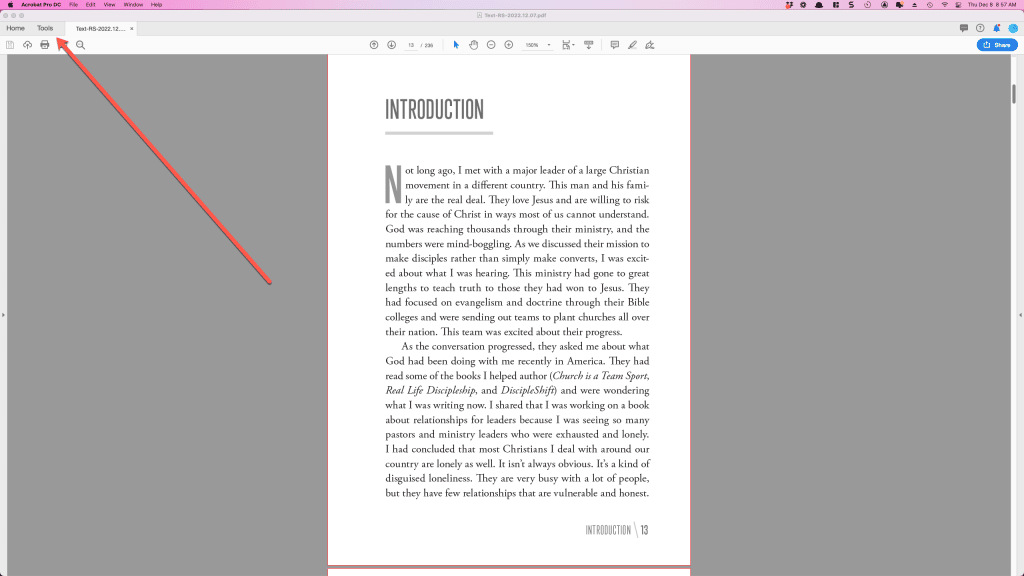
3. Click on “Tools” on the top left.
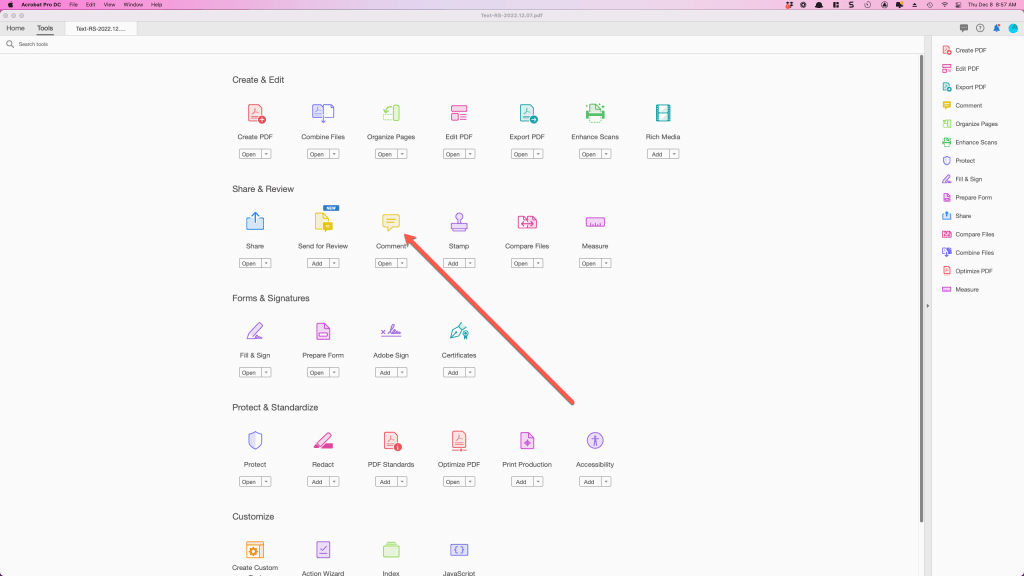
4. Click on “Comment” from the “Tools” menu.
5. With “Comments” turned on you can then make changes as you normally would, and Adobe will capture those changes.
For example:
- Make deletions by selecting the content you want deleted and pressing the delete button on your keyboard.
- Add content by placing your cursor where you want to insert the content and typing the new content.
- Replace content by highlighting what you want to replace and typing the new content.
- Highlight text and make comments in the sidebar.
- Draw arrows and add text boxes by using the toolbar at the top.
You can learn more about using the comments tool here.
6. Make sure to save your document when you’re finished editing!
This blog was written for active YouPublish clients. If you want to utilize our services, begin by filling out a quote request form here.